Team Management
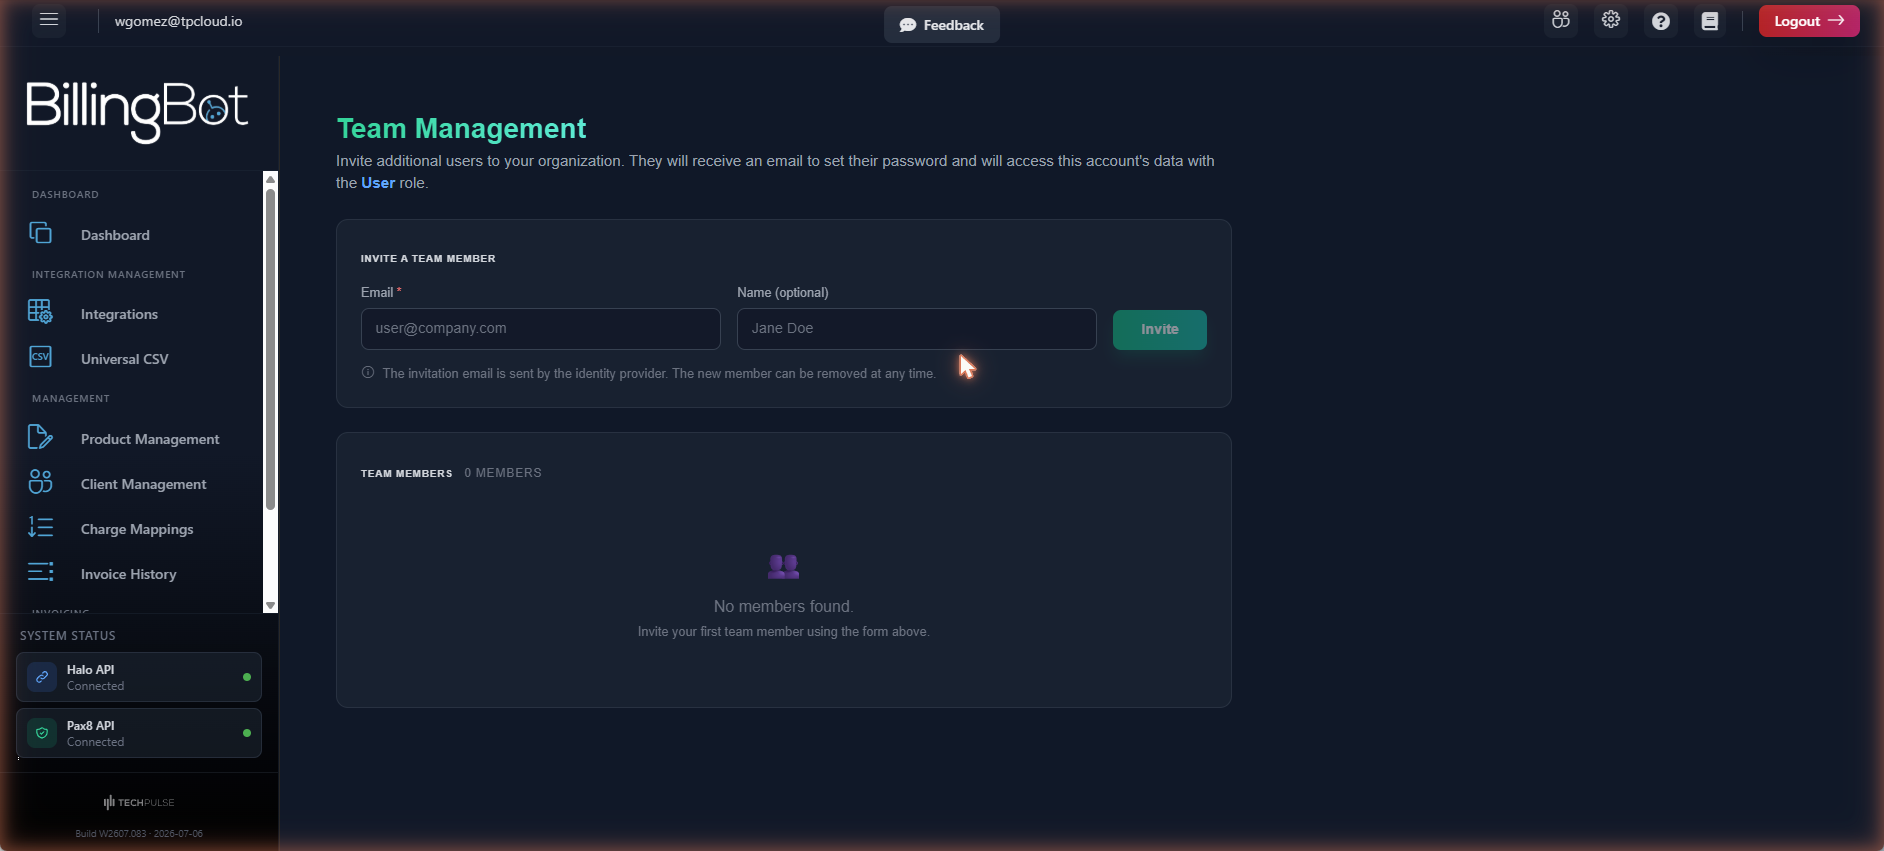
On this screen you invite your coworkers to use BillingBot alongside you, and manage who has access to your organization's account.
Last updated 24 days ago
On this screen you invite your coworkers to use BillingBot alongside you, and manage who has access to your organization's account.
When to use this screen
Use this screen when you need someone else at your company (for example, a billing or support coworker) to also be able to log in to BillingBot and work with your organization's data. You also use it when someone should no longer have access, or when an invitation didn't arrive and needs to be resent.
What it shows
The screen has two sections:
- Invite a team member: a form for inviting a new person by email.
- Team members: the list of everyone who is part of your organization in BillingBot, with a counter showing the total number of members.
For each member in the list you see:
- A circular icon with their name's initials (or their email's if they have no name on file).
- Their name (or their email, if they have no name) and their email address.
- Their role: ★ Owner (account owner) or User (invited user).
If you haven't invited anyone yet, the screen shows the message "No members found." inviting you to use the form above.
Available actions
- Invite: sends an invitation email to the address you entered. The person receives an email to create their password and access your organization's data with the User role.
- Resend invite: resends the invitation email to a member who has already been invited (useful if the email didn't arrive or the link was lost).
- Remove: removes the person from the team; they lose access to your organization's account. ⚠️
These last two actions are only available for members with the User role. The account with the Owner role (the one that created the organization) cannot be resent an invite or removed from this screen; instead, it shows the "Account owner" label.
While an invitation, resend, or removal is being processed, the buttons are temporarily disabled to prevent double-clicking.
Step-by-step flow
- Go to Team Management (the team icon in the header, or from Settings).
- In the Invite a team member section, type the person's email in the Email field (required).
- Optionally, type their name in the Name field.
- Click Invite.
- You'll see a confirmation message indicating the invitation was sent, and the person will appear in the Team members list.
- The invited person receives an email to set their password so they can log in to BillingBot.
- If the email didn't arrive, find that person in the list and click Resend invite to resend it.
- If you need to remove someone's access, click Remove next to their name. ⚠️ This action cannot be undone from the screen: the person loses access immediately.
Common errors and how to fix them
- "Email is required": you tried to invite someone without filling in the Email field. Enter the person's email and try again.
- Error message when inviting: this can appear if the email was already invited before or if there's a communication problem with the identity provider. Check that the email is spelled correctly and, if the problem persists, contact support.
- Error message when resending or removing: if you see an error while using Resend invite or Remove, wait a few seconds and try again; if the error continues, contact support.
- The list appears empty after a loading error: if the members couldn't be loaded when opening the screen, you'll see an error message and the list will remain empty. Reload the page to try again.
Related screens
Was this helpful?
Still need help? Ask the team