Getting Started: creating your tenant
Onboarding is the guided process you go through the first time you sign in to BillingBot: accepting the terms, connecting your PSA platform (HaloPSA or AutoTask), and defining how you want billing to behave before the first charge is gen...
Last updated 24 days ago
Onboarding is the guided process you go through the first time you sign in to BillingBot: accepting the terms, connecting your PSA platform (HaloPSA or AutoTask), and defining how you want billing to behave before the first charge is generated. When you finish this process, your tenant will be created and ready for you to connect your distributors (Pax8, Ingram, ITCloud, CSV, etc.) from the Integrations screen.
This page explains, field by field and flag by flag, what each option in the "Create BillingBot Tenant" wizard does and its real effect on your invoices. You don't need any technical knowledge to follow it.
Before you start
- Registration: when your account is created, you receive an email from the identity provider (Auth0) with a link to set your password.
- First login: you enter your email and Auth0 asks for your organization/credentials. New tenants currently log in through Auth0.
- After your first login, the application takes you straight into initial setup mode (the wizard) so you can accept the terms and create your tenant.
Step 1: Accept the terms
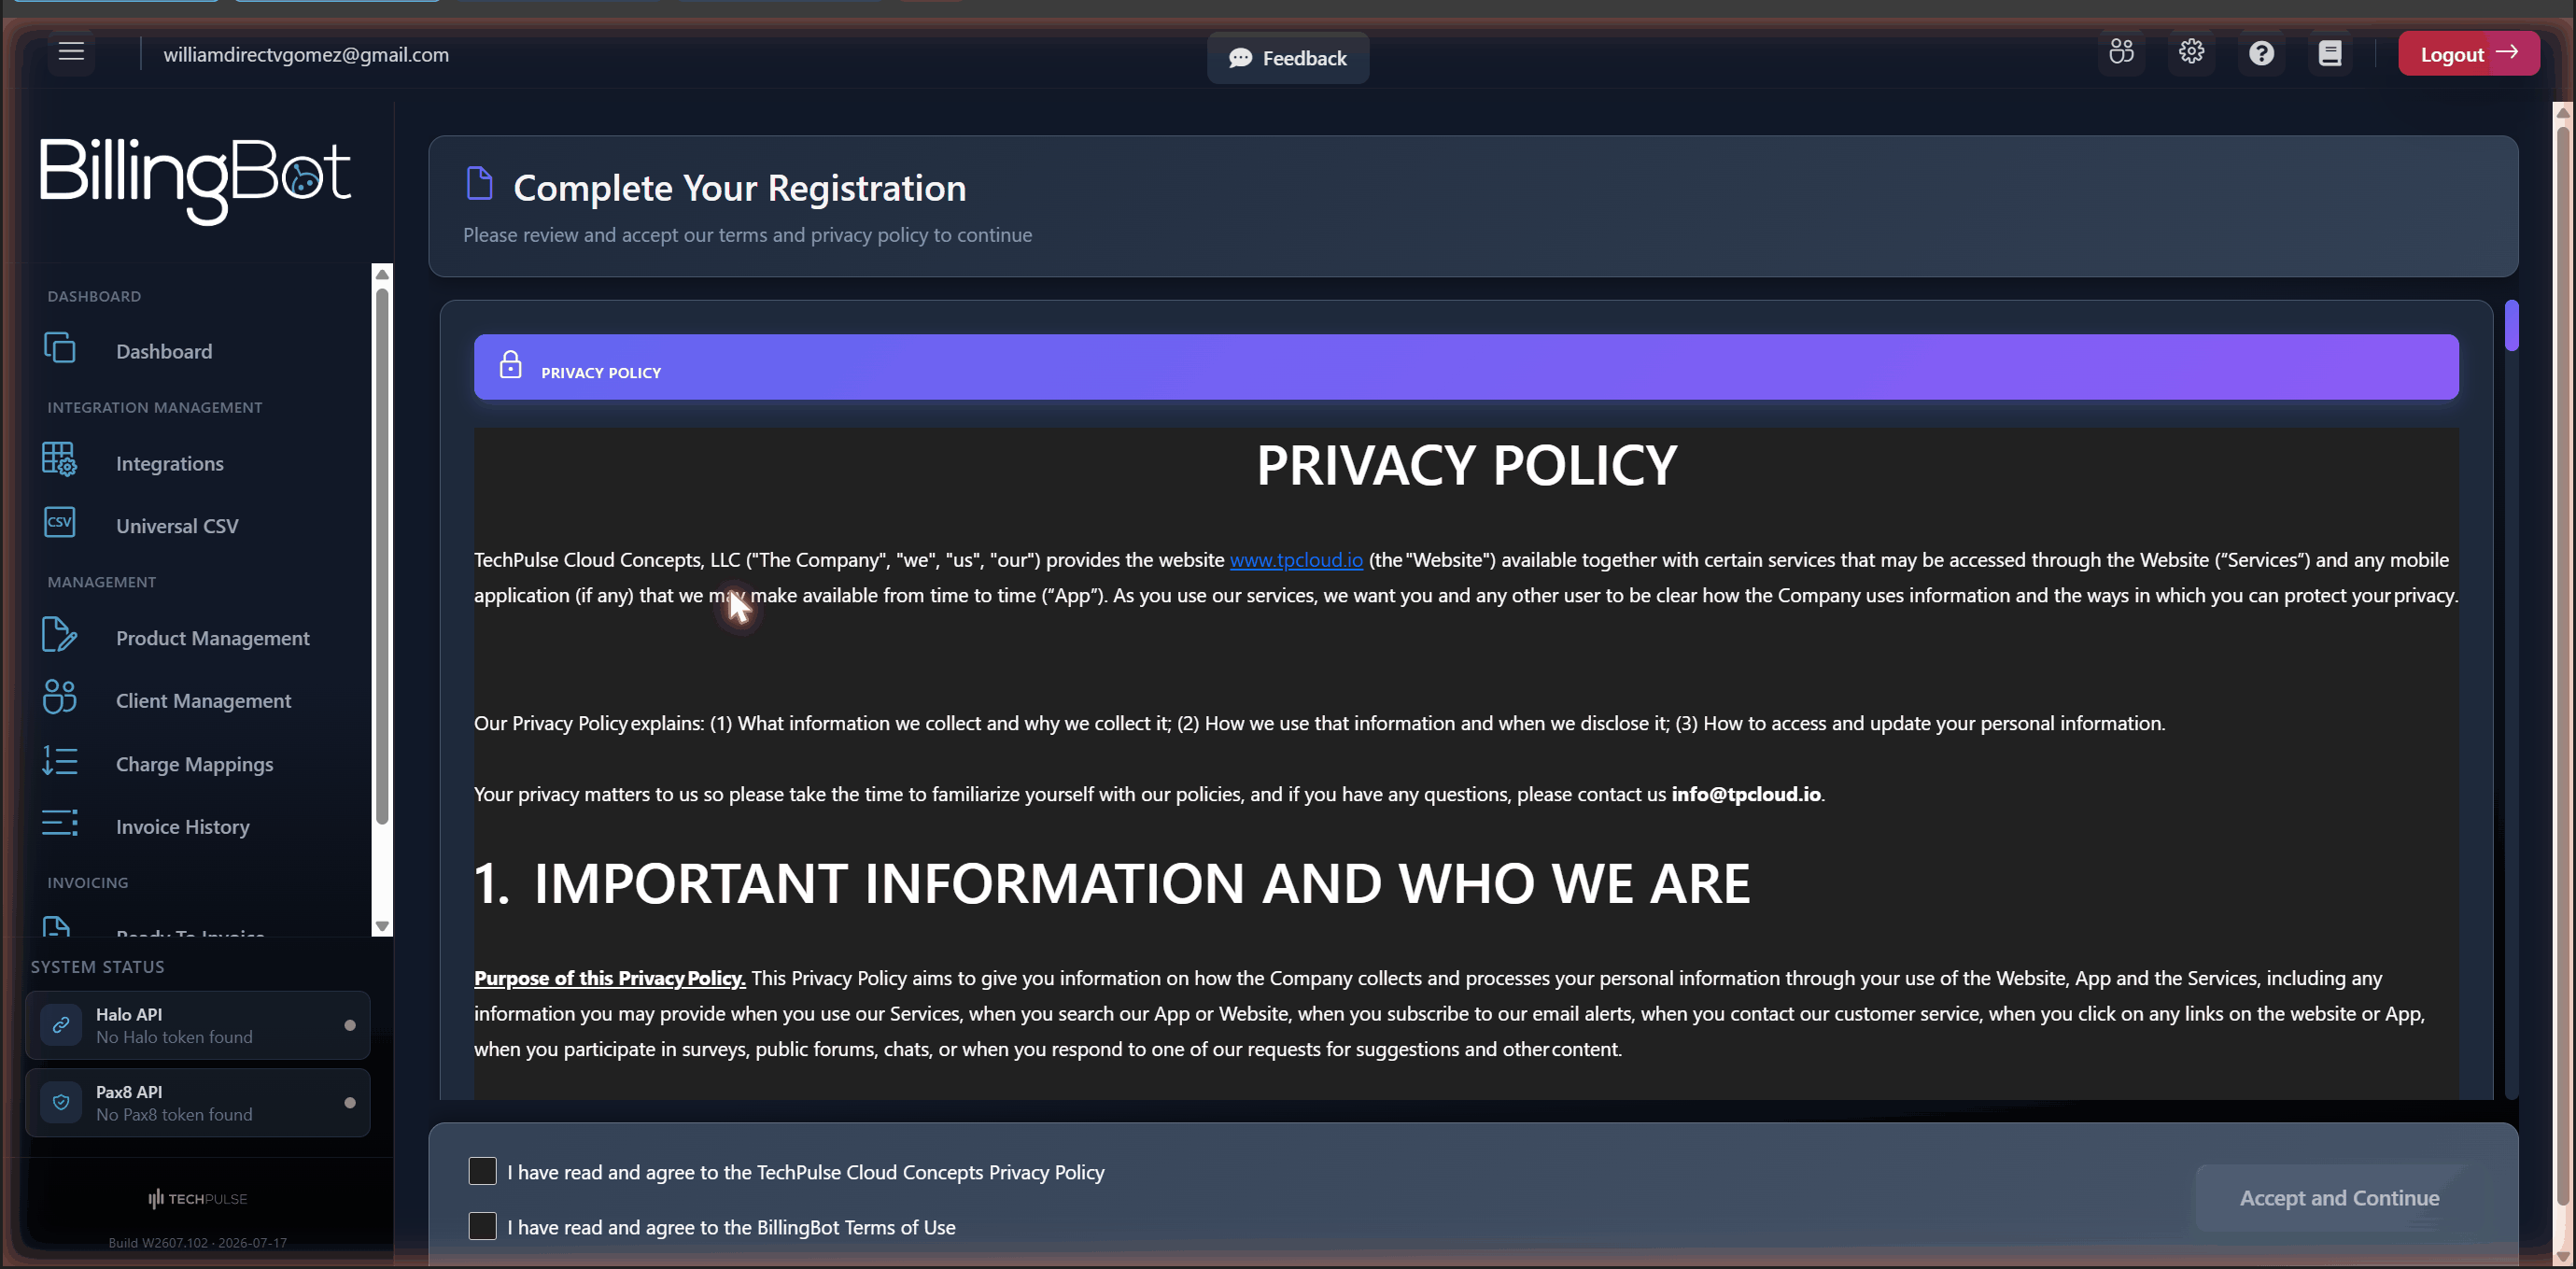
Before creating the tenant, the Complete Your Registration screen shows you the TechPulse Cloud Concepts Privacy Policy. You must check both required boxes:
- "I have read and agree to the TechPulse Cloud Concepts Privacy Policy"
- "I have read and agree to the BillingBot Terms of Use"
The Accept and Continue button is only enabled once both boxes are checked. When you confirm, you'll see the message "Terms accepted successfully!" and move on to the tenant creation wizard.
Step 2: Choose your PSA platform and connect credentials
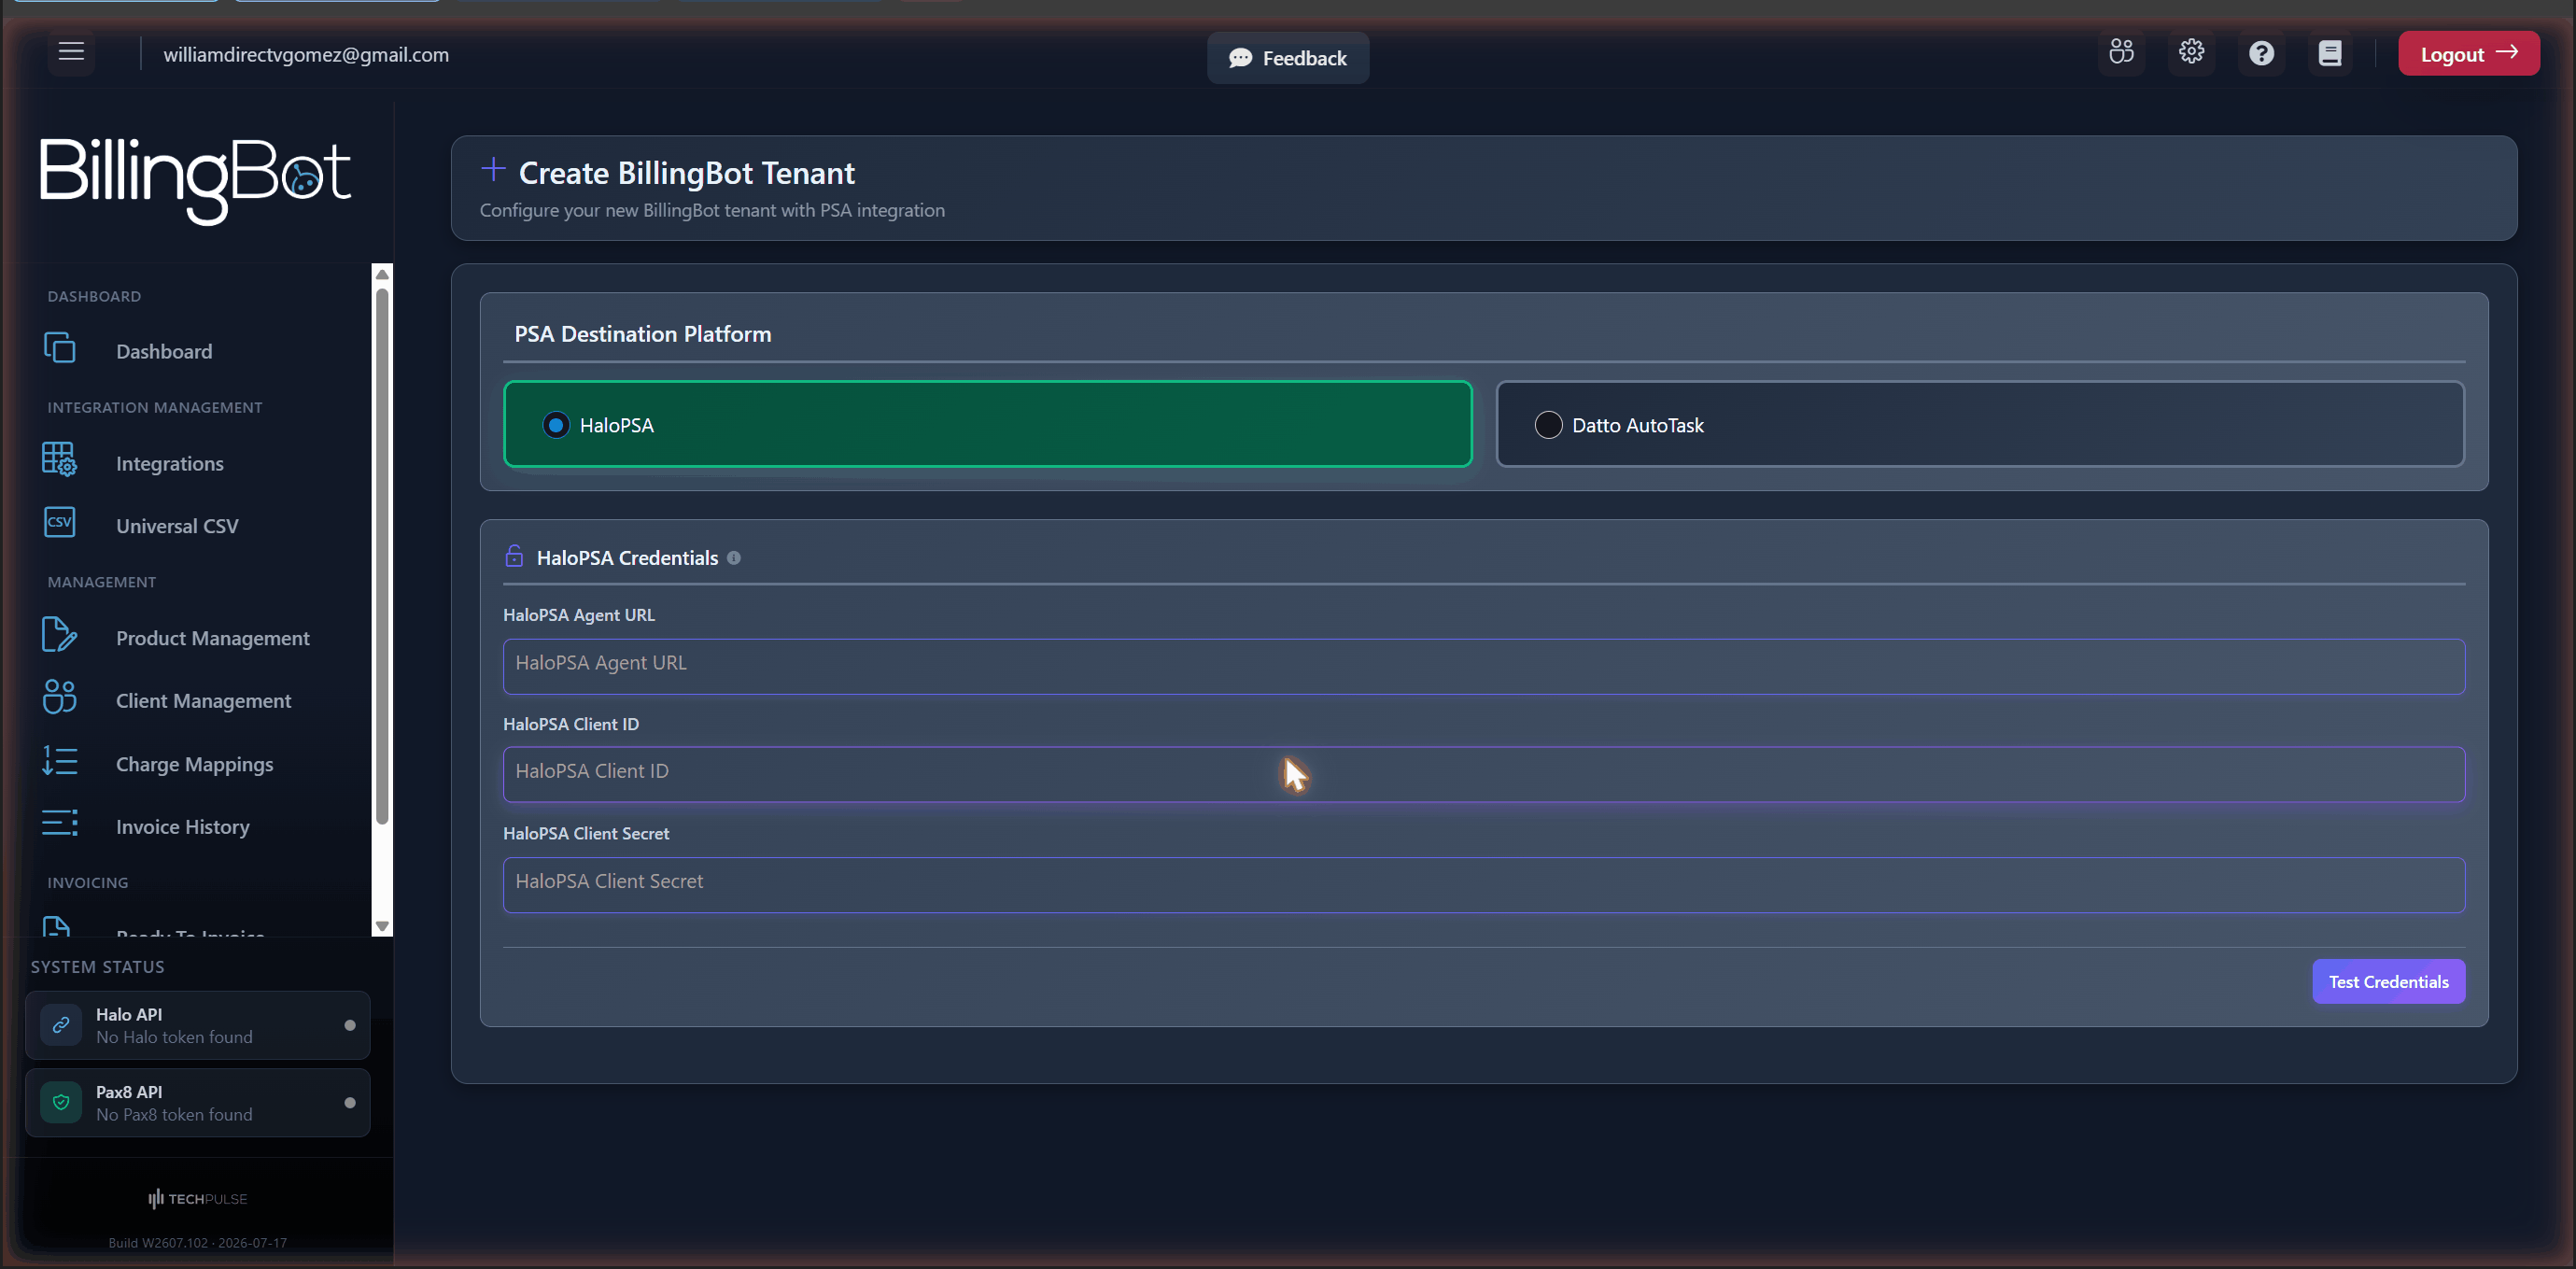
The first decision you make in the Create BillingBot Tenant wizard is which management platform (PSA) your billing will be sent to. This choice is required and determines the rest of the form:
- HaloPSA: billing is sent to HaloPSA.
- Datto AutoTask: billing is sent to AutoTask.
If you chose HaloPSA
Official tooltip for this section: "Enter your HaloPSA portal URL and API credentials. See the BillingBot documentation (Configure HaloPSA) for setup instructions."
If you chose AutoTask
After your credentials are validated, AutoTask also shows you (read-only, informational): Zone, API Base URL, and API Requests Used (Current Hour).
The Test Credentials button
Regardless of which PSA you chose, you must press Test Credentials to validate the connection. If everything is correct you'll see "Credential test successful! Loading HaloPSA tables..." followed by "Tables loaded successfully!" (for Halo).
Important: the rest of the form (codes, modifiers, invoice behavior, product lifecycle) only appears after Test Credentials successfully validates the connection. If you don't see those sections, check your credentials and try again.
Step 3: Configure the tenant
Once your credentials are validated, the configuration section is revealed. Here you define how your invoices will behave by default. Everything you configure here applies to all your clients, but can be changed later for an individual client from Client Management (Edit Company), or globally from Settings.
Default Account Codes
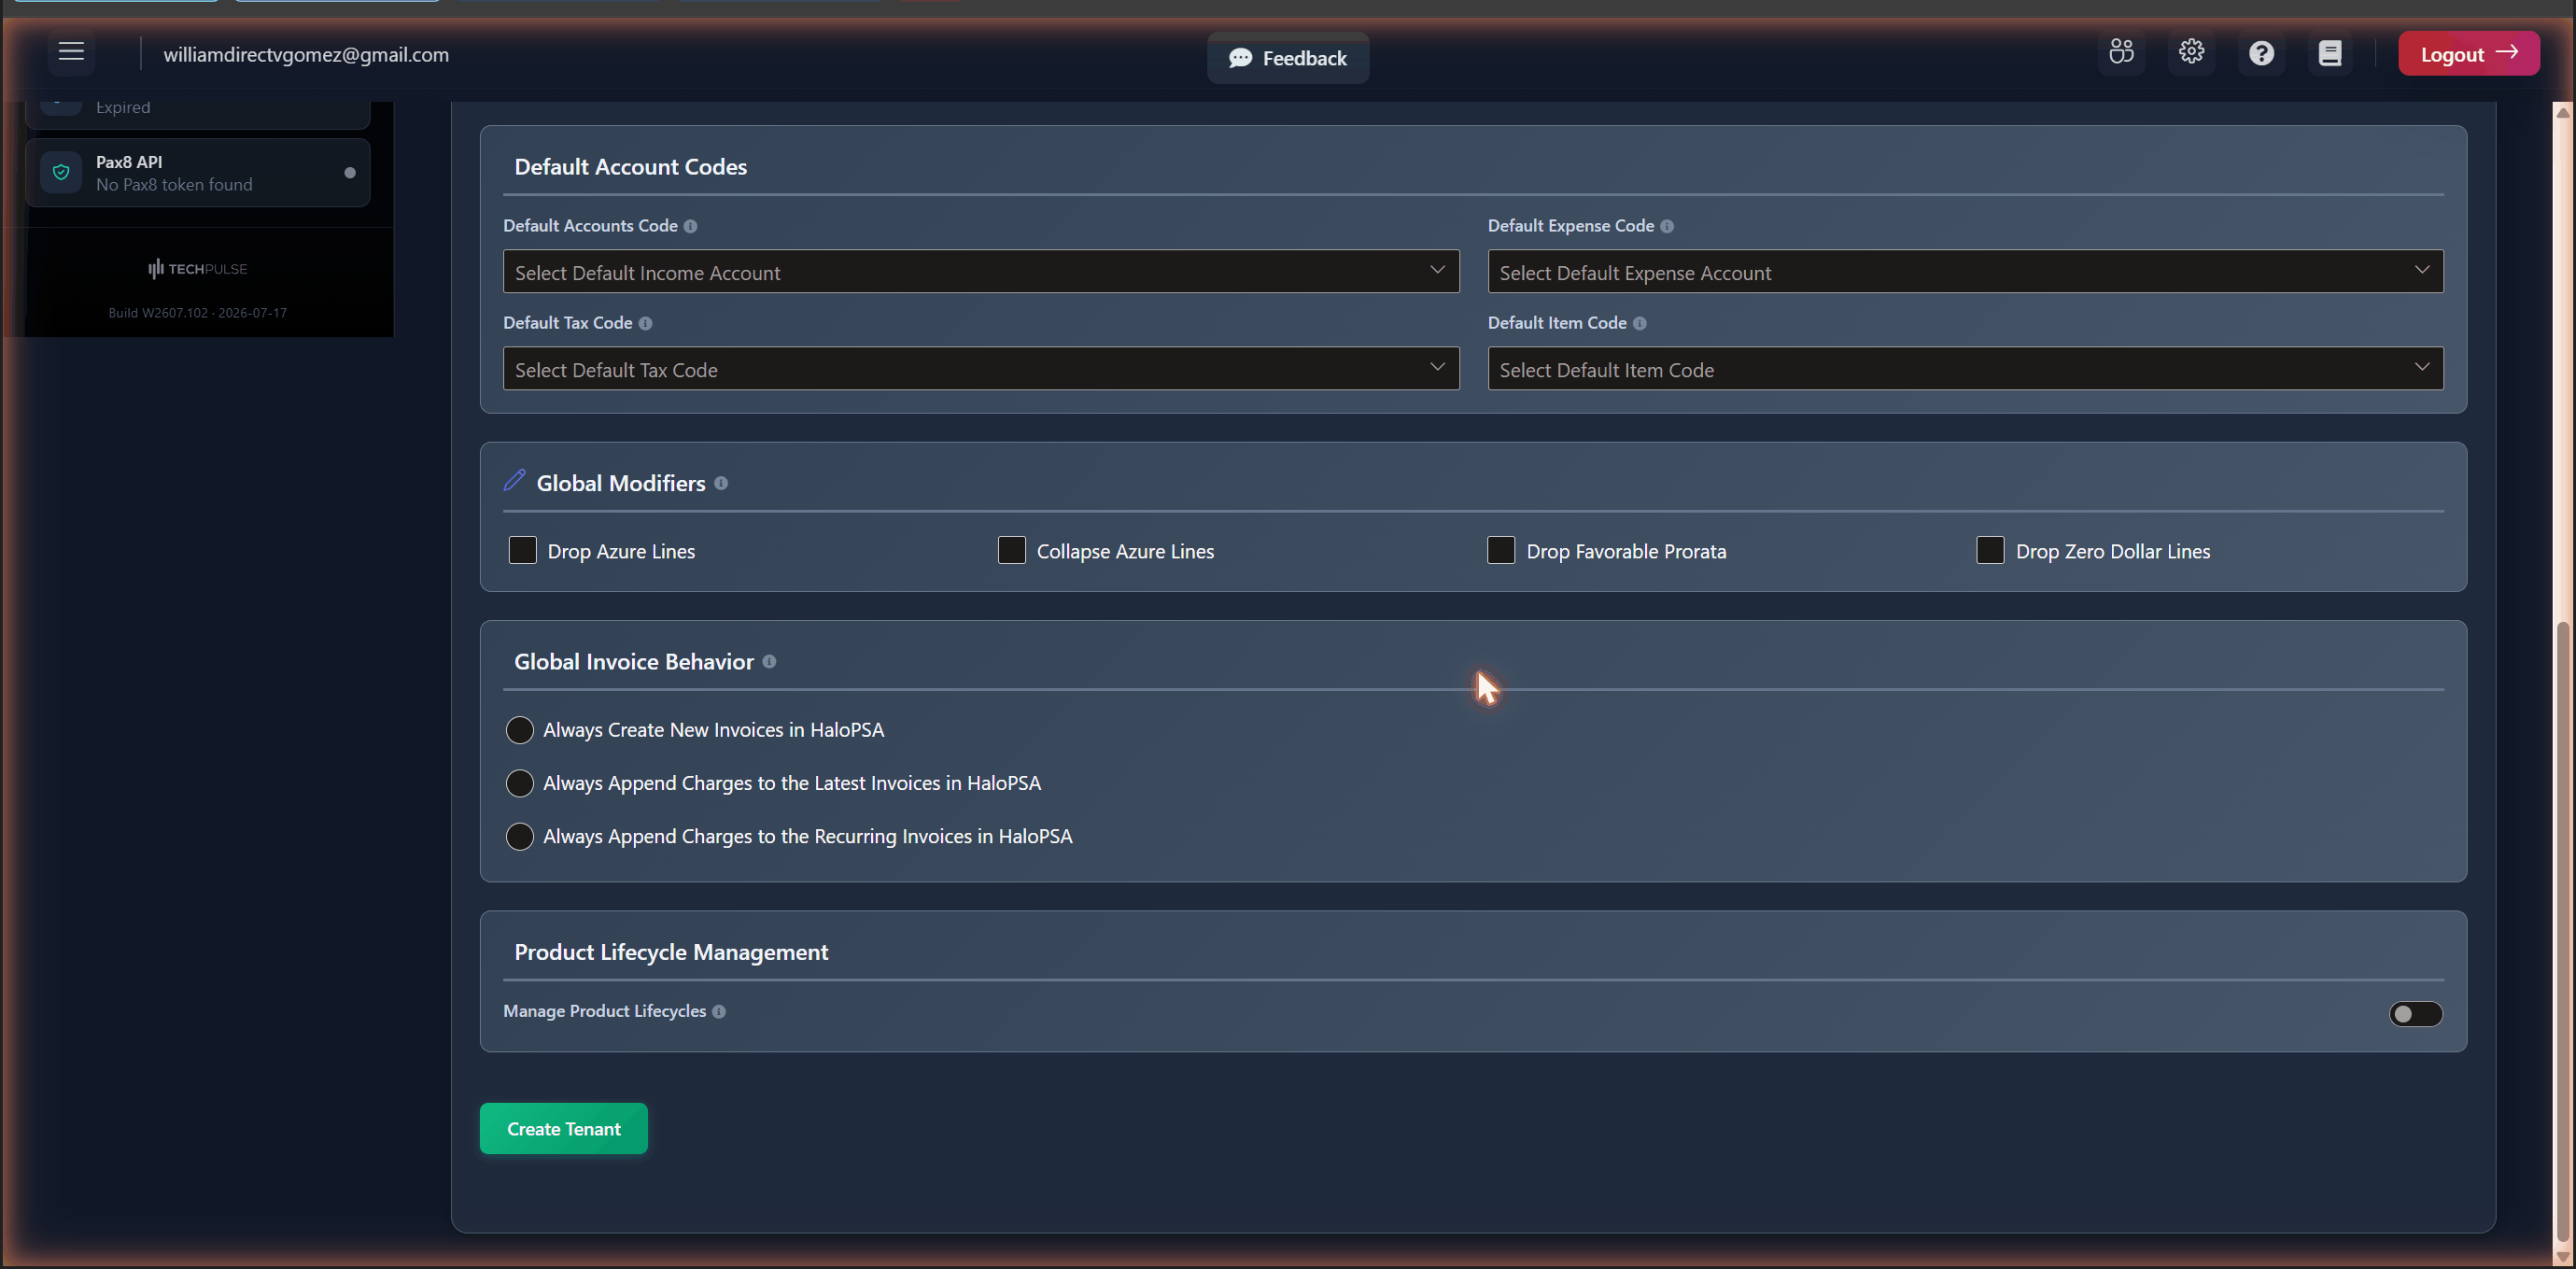
Only applies if you chose HaloPSA. These values come directly from your Halo API (you see them in drop-down lists) and are all optional, though defining them is recommended. They're the values BillingBot uses when a product/SKU has no specific override configured.
Global Modifiers
These flags apply to all your clients by default, and you can override them for a specific client from Client Management. Each one has a very specific effect on which lines are billed and how:
Official tooltip for this section: "These invoice modifiers can be set globally to apply to all customers. You can still override these at the customer level."
Global Invoice Behavior
Only applies if you chose HaloPSA. Defines what happens to charges when BillingBot sends them to Halo. It's a group of options where you choose only one, and it can also be overridden per client:
Official tooltip: "This setting controls whether charges from BillingBot are appended to existing invoices for customers or added to new invoices. This setting can be overridden at the client level."
If you chose AutoTask, you won't see these three options: instead, BillingBot creates Contract Charges within the contract assigned to each company. Those charges appear in AutoTask's Approve & Post queue, where your billing team reviews and approves them before the invoice is generated.
Product Lifecycle Management
Turning on the switch reveals the question "How should BillingBot handle new, missing, or unmatched items?" with three options (choose one):
Step 4: Create the tenant
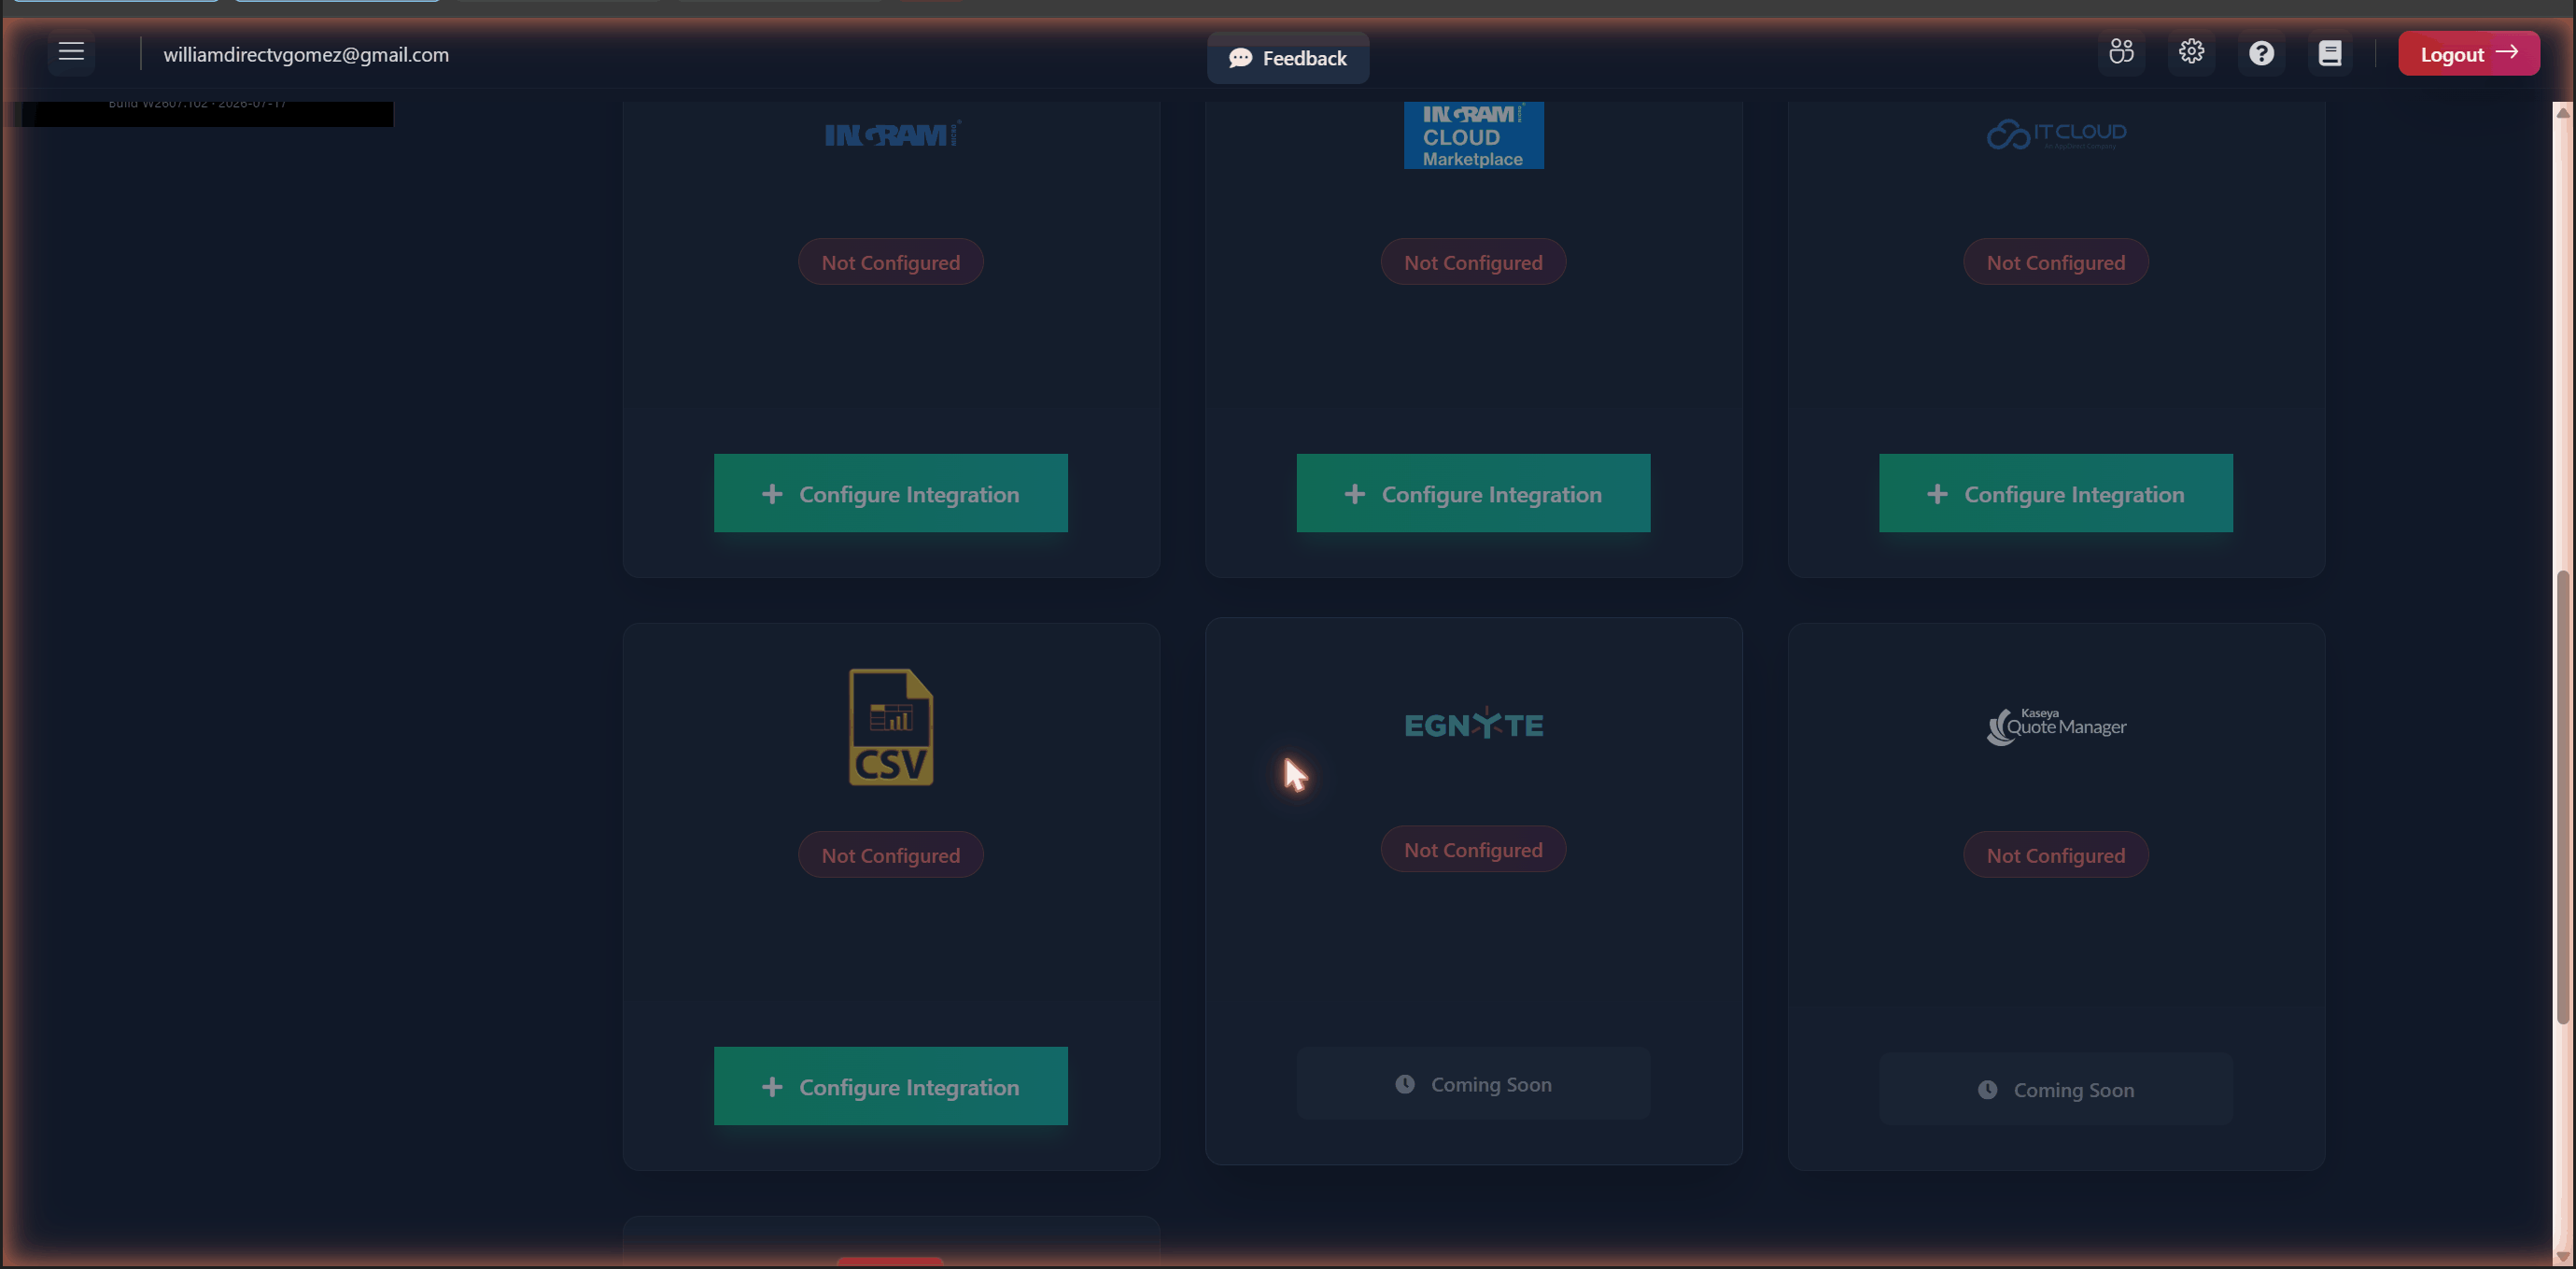
Once you've finished reviewing the codes, modifiers, and invoice behavior, press Create Tenant. This saves all the settings to your tenant. You'll see the message "Tenant {email} created successfully" and the application takes you to the Integrations screen, where you connect your distributors.
Important notes
- The configuration section (default codes, Global Modifiers, Global Invoice Behavior, product lifecycle) only appears after Test Credentials successfully validates the connection and your PSA's tables are loaded. If you don't see those sections, it's because that step is missing.
- The first-login wizard does not include multi-user configuration ("User Management") or the organization name in Auth0. That's configured later, from Settings (see the Tenant Settings and Team Management pages).
- All these global settings can be changed later from Settings (Global Settings screen), and can be overridden for an individual client from Client Management (Edit Company).
Related screens
Was this helpful?
Still need help? Ask the team